Day 52: CI/CD pipeline on AWS - Part 3

Hello, I am Akshay Phadke I have 10 Yrs of Experience in various Technologies. Currently, I am learning a few DevOps tools. I am working on Microsoft Technologies and AWS
What is CodeDeploy?
AWS CodeDeploy is a deployment service that automates application deployments to Amazon EC2 instances, on-premises instances, serverless Lambda functions, or Amazon ECS services.
CodeDeploy can deploy application content that runs on a server and is stored in Amazon S3 buckets, GitHub repositories, or Bitbucket repositories. CodeDeploy can also deploy a serverless Lambda function. You do not need to make changes to your existing code before you can use CodeDeploy.
Task-1 :
Read about Appspec.yaml file for CodeDeploy.
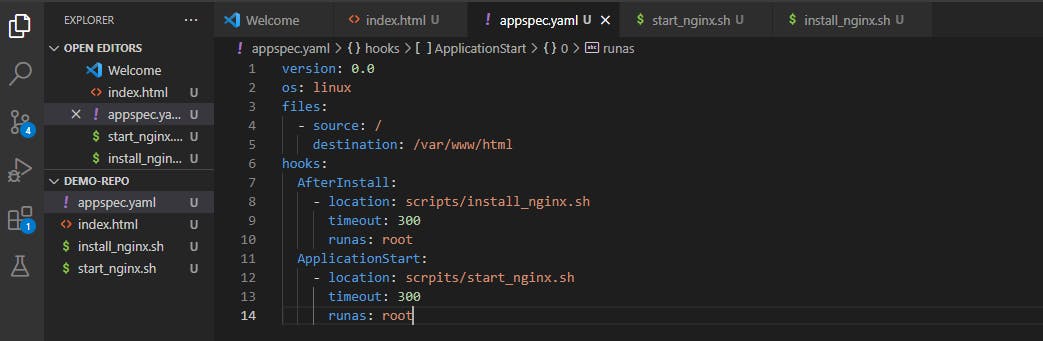
The application specification file (AppSpec file) is a YAML -formatted or JSON-formatted file used by CodeDeploy to manage deployment. The AppSpec file for an EC2/On-Premises deployment must be named appspec. yml or appspec.yaml, unless you are performing a local deployment.
The appspec.yaml file is a configuration file that defines how the deployment should proceed. It specifies the deployment process, including which files should be deployed, where they should be deployed, and any scripts or hooks that should be executed during the deployment.
The appspec.yaml file typically includes the following sections:
version: This section specifies the version of the AppSpec file format being used.
os: This section specifies the operating system of the target instances.
files: This section specifies the source and destination locations of the files to be deployed.
hooks: This section specifies any scripts or hooks that should be executed during the deployment, such as scripts to stop and start the application.
The AppSpec file must be located in the root directory of the application source code and must be named “appspec.yml” or “appspec.yaml”. When you create a deployment group in CodeDeploy, you can specify the location of the AppSpec file in the deployment configuration.
Deploy index.html file on EC2 machine using nginx
For code commit and code build steps, please follow my Day 51 task article.
Create a CodeDeploy application:
You need to create a CodeDeploy application to deploy your index.html file. You can do this in the AWS Management Console.
In CodeDeploy, go to Applications and click on 'Create application'.

Select compute platform 'EC2/on premises' and click on 'Create application'.

Application is successfully created.

Create 'service role' for enabling communication between code deploy and other aws services.
Go to IAM service and create 'code-deploy-service-role' with below permissions.

Set up an EC2 instance:
You will need to create an EC2 instance on which you want to deploy the index.html file.
Create a ubuntu EC2 instance

Create a deployment group:
Once you have created a CodeDeploy application, you need to create a deployment group. A deployment group is a set of EC2 instances where you want to deploy your application.

Add instance name.


Click on 'Create deployment group'.

You have to setup a CodeDeploy agent in order to deploy code on EC2.
Install the CodeDeploy agent:
You need to install the CodeDeploy agent on your Ubuntu EC2 instance. The CodeDeploy agent is a software package that runs on your instance and interacts with CodeDeploy to deploy your application. You can install the CodeDeploy agent by running the following script on your EC2 instance:
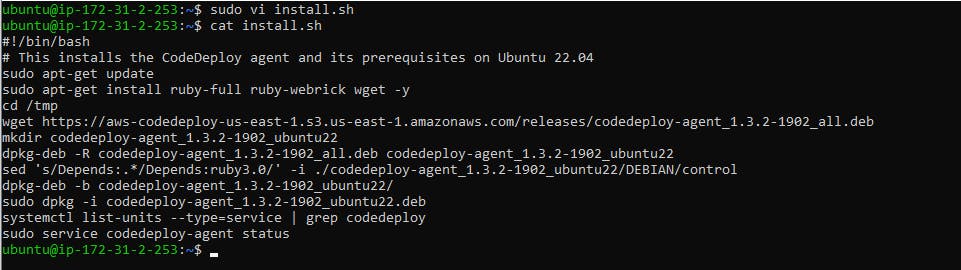
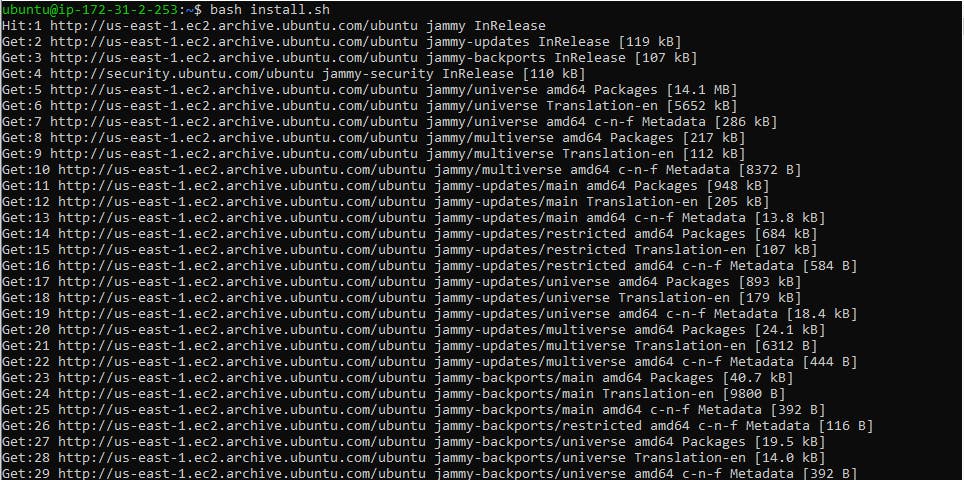
Run the script using the command bash install.sh
Code agent is running.

Create an index.html file:
you need to create an index.html file that you want to deploy. You can create a simple HTML file using any text editor.

Task-2 :
Add appspec.yaml file to CodeCommit Repository and complete the deployment process.
Create an appspec.yaml file:
You need to create an appspec.yaml file that tells CodeDeploy what to do with your application. Here is an appspec.yaml file that deploys the index.html file on nginx. also create 2 scripts for installing nginx and starting nginx.


Push all the files to code commit using 'git add' and 'git commit' commands.
All the files updated in code commit.

Now Let's edit artifacts.
Developer tools > CodeBuild > Build projects > project name > edit artifacts

Now
ReBuildthe project.Developer tools > CodeBuild > Build projects > project name > Rebuild

Now create an S3 bucket for code deployment.
Services > S3 > Create bucket > bucket name > region > Create bucket
I'm using my previous bucket which I created for
code build.Now add the
artifactsin theS3 bucketwhich we have created forcode deployandrebuildagain.Thus we can verify the file uploaded on the S3 bucket and copy the
object url.

Step-01:: Go toDeveloper tools > CodeDeploy > Applications > Deployment Groups > Select the deployment file

Step-02:: Now click onCreate deploymentbutton and paste theobject urlin theRevision locationand click onCreate deploymentbutton.

- Now we can see the
deploymentissuccessfuland you can check whether the file is running or not by going intoartifact.zip>index.htmland click onindex.htmlfile to have output.


